You bought the rosemary oil, you’ve been applying it for a few weeks, and you’re not entirely sure if you’re doing it right — or if it’s doing anything at all. One corner of the internet that takes hair science seriously flagged something worth building your entire routine around: some researchers and experienced users suspect the scalp massage itself is doing the heavy lifting, not the oil. That’s worth knowing before you build a whole protocol around the bottle. Here’s what the routine should actually look like, and why each step exists.
Because here’s the thing — if you’re already spending fifteen minutes on this a few times a week, you deserve to know whether you’re doing it in a way that gives it a genuine shot at working. Most people aren’t. They’re applying oil to their hair lengths, skipping the massage, leaving it on for hours, and then wondering why nothing seems to change. This protocol won’t promise you a transformation. But it will give the method its best possible chance.
Before you start: what rosemary oil can and cannot do for your hair
The evidence in plain terms — what the research actually shows (and what it doesn’t)
Rosemary oil contains compounds — including carnosic acid and rosmarinic acid — that are proposed to support scalp health through antioxidant activity and their potential effect on circulation. The mechanistic argument is plausible, but what’s missing is robust human clinical trial data confirming that these compounds, applied topically in standard at-home formats, consistently produce measurable hair growth outcomes. That distinction matters.
There is also early research into microsponge-mediated targeted delivery of rosemary oil — meaning scientists are actively developing more sophisticated formulations specifically because standard topical application has absorption limitations. In other words, dropping oil on your scalp and hoping it penetrates deeply enough to do something is not the same as the delivery mechanisms being studied in labs. That doesn’t mean at-home use is pointless. It means your technique — how you apply it, how you work it in — matters more than most people realise.
Think of your scalp like a pot of soil. Rosemary oil isn’t the seed — it’s potentially a fertiliser. But if you pour fertiliser on top of dry, compacted soil and don’t work it in, most of it just runs off. The massage is what breaks up the surface and helps anything get through. And in Singapore’s humid climate, leaving too much oil sitting on that soil risks fungal overgrowth rather than a garden — which is why rinse-out timing and frequency are not optional details.
Who this protocol is and isn’t for
This protocol is for someone experiencing general hair thinning, reduced density over time, or wanting to support scalp health as part of a broader routine. It’s a reasonable, low-risk addition if your hair loss is mild to moderate and not sudden. It is not a replacement for medical evaluation if you’re experiencing rapid shedding, patchy loss, or significant visible scalp exposure. Those patterns warrant a conversation with a dermatologist before you reach for any oil.
What you need before step one
Choosing a form — essential oil vs. pre-diluted rosemary hair oil vs. rosemary-infused products
Rosemary essential oil is the concentrated form — highly potent, requires dilution, and degrades faster than most people expect. If you’re buying it, look for organic, cold-pressed rosemary oil in a dark glass bottle. Light and heat break down the active compounds before you’ve even used it twice, so that clear plastic bottle sitting in direct sunlight on your bathroom shelf is already working against you. Pre-diluted rosemary hair oils have already done the dilution work for you, which is convenient and safer if you’re new to essential oils. Rosemary-infused products — shampoos, conditioners, scalp serums — contain the ingredient but typically at concentrations that are harder to assess and control. All three can be part of a routine; they just serve different roles.
How to dilute correctly and why skipping this step matters
Pure rosemary essential oil should never be applied directly to the scalp. This isn’t cautious over-hedging — undiluted essential oils are a documented irritant and can cause contact dermatitis, which would set your scalp health back considerably. The standard safe dilution ratio for scalp use is two to three drops of rosemary essential oil per tablespoon of carrier oil. Mix it fresh or in small batches rather than making a large supply that sits for weeks.
What carrier oil to use in Singapore’s climate (lightweight vs. heavy and why it matters for buildup)
In Singapore’s year-round humidity, your carrier oil choice genuinely changes the experience. Heavy oils like castor or coconut oil feel dense in a temperate climate — in 85% humidity, they can feel suffocating on the scalp, contribute to product buildup, and potentially worsen congestion. Lightweight options like jojoba, grapeseed, or squalane absorb more readily, are less likely to leave your scalp feeling coated after rinsing, and are less likely to interact badly with the sweat and sebum your scalp is already producing. Jojoba is particularly worth considering because its structure closely resembles the skin’s natural oil (sebum), which makes it less likely to disrupt scalp balance.
The protocol — step by step
Step 1 — Part and section the hair before applying
The application sequence starts before the oil is even open. Brush or detangle your hair first, then use a tail comb or your fingers to create sections — at minimum, a centre part and two side sections. This isn’t cosmetic preparation. It’s practical access. Without sectioning, you’re mostly applying oil to the surface layer of hair rather than to the scalp itself, which is where it needs to go.
Step 2 — Apply directly to the scalp, not the lengths
Use a dropper, your fingertips, or a scalp applicator bottle to place the diluted oil along each part you’ve created. Focus on areas where you’re most concerned about thinning — typically the crown and hairline — but don’t neglect the rest of the scalp. The oil should touch skin, not hair shaft. Applying it to the lengths of your hair is a common mistake that wastes product, weighs your hair down, and does nothing useful for hair growth. Your ends are not where hair grows.
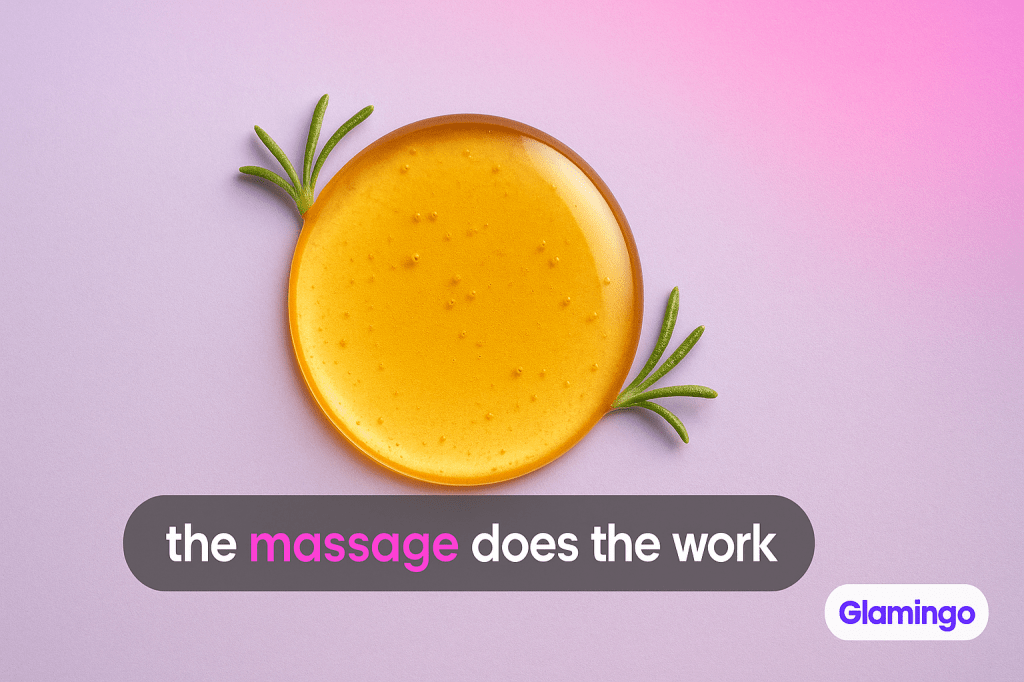
Step 3 — Massage the scalp for at least 4 minutes (and why the massage may be doing as much work as the oil)
This is the step most people underdo. Four minutes of actual scalp massage — not a quick once-over — using the pads of your fingers in slow, firm, circular motions across the entire scalp. The reason this matters: scalp massage independently has a proposed association with hair growth through increased circulation to the hair follicles (the small structures in your scalp where individual hairs are produced). Some researchers and long-term users have noted that the stimulation from massage may be a significant factor in any perceived results from rosemary oil routines — not just the compounds in the oil itself. Whether it’s the oil, the massage, or both working together, skipping the massage removes what may be half the mechanism.
Step 4 — Leave-in time and how long is actually useful
Thirty minutes to an hour is a reasonable leave-in window. Some people leave scalp oil on overnight, and while that’s not inherently harmful, in Singapore’s climate it introduces real risk: a warm, humid scalp covered in oil for eight hours is a hospitable environment for the kind of fungal overgrowth (think of it as an imbalance in the scalp’s natural microorganism community) that can actually worsen scalp health and contribute to shedding. If you prefer an overnight treatment, do it infrequently and wash it out thoroughly in the morning. For a regular routine, a pre-wash leave-in of thirty to sixty minutes is both practical and lower risk.
Step 5 — Rinse out properly to prevent buildup and congestion
Shampoo your scalp — not just your hair — properly after treatment. This means applying shampoo directly to the scalp, working it in before adding water (which helps it emulsify the oil rather than just moving it around), and rinsing thoroughly. In Singapore, where humidity means your scalp is already dealing with more sweat and sebum than a scalp in a cooler climate would be, allowing oil residue to accumulate on the scalp blocks follicles and creates the exact conditions that make hair thinning worse, not better. Rinse-out is not a casual afterthought.
Frequency and timing — how to fit this into your existing routine
How often to apply
Three applications per week is cited by practitioners as a practical frequency — enough to maintain consistency without building up excess product on the scalp. This is practitioner guidance rather than clinical evidence, so treat it as a reasonable starting framework rather than a rule set in stone. If your scalp tends toward oiliness or you’re washing your hair less frequently, scaling back to twice a week is a sensible adjustment. Once a week as a starting point is also cited as a way to gauge how your scalp responds before committing to a higher frequency.
When in your wash routine to use it
Pre-shampoo is the most practical placement — apply the oil, massage for four minutes, leave it for thirty to sixty minutes, then shampoo and condition as normal. This integrates the treatment into an existing wash session rather than requiring an entirely separate routine step, which is the single most effective way to actually stay consistent with it.
How long to commit before deciding if it’s working
Hair grows at roughly one to 1.5 centimetres per month. Any change at the follicle level takes time to become visible at the surface. A realistic minimum commitment before assessing results is three months of consistent use — meaning three times a week, every week, not a few times when you remember. Consistency and application method are the primary variables, not which brand you purchased. Decide on your protocol first, then commit to it long enough to actually evaluate it fairly.
What NOT to do — the mistakes that make this protocol fail
Applying undiluted essential oil
One more time, because it matters: pure rosemary essential oil applied directly to the scalp is an irritant risk. An irritated, inflamed scalp is not a healthy environment for hair growth. Dilute every time, no exceptions.
Applying to hair lengths instead of scalp
Your hair shaft is dead tissue. It cannot absorb compounds in a way that stimulates growth. Concentrating oil application on your lengths — especially if you have long hair — is the most common way people use this treatment consistently for months and see nothing, because they were never actually treating the target area.
Skipping the massage
Given that the massage may independently account for a meaningful portion of any results you’re seeing, leaving it out is not a minor shortcut. It potentially removes half the mechanism. The four-minute timer is not theatrical — it’s a minimum threshold for doing this properly.
Expecting fast results or stopping too soon
If you’ve been doing this for three weeks and you’re impatient, that’s understandable — and also not enough time to evaluate anything. Hair growth timelines don’t respond to enthusiasm. Three months minimum. Assess from there.
Letting oil sit too long on a humid Singapore scalp without rinsing
This bears repeating in its own section because Singapore’s climate makes it genuinely different from advice written for a cooler, drier context. Extended oil leave-in time combined with high ambient humidity, scalp sweat, and warm temperatures creates conditions where fungal imbalance on the scalp (a common cause of dandruff and scalp inflammation) can develop or worsen. The local climate context is directly relevant here — rinse-out timing is not optional in this part of the world.
How to track whether it’s actually working
What realistic progress looks like and when to reassess
Realistic early progress looks like less hair in the shower drain over time, reduced scalp sensitivity, or fine baby hairs visible along the hairline — not sudden density. Take a photo of your hairline and crown in consistent lighting at the start of your three-month commitment, then compare monthly. It’s much harder to notice gradual changes without a reference point. If after three to four months of consistent use you cannot identify any change, it’s worth reassessing whether this approach is the right tool for your specific hair concern, or whether something else is going on.
When to stop and speak to a dermatologist instead
If you develop scalp irritation, increased redness, or itching after starting the protocol — stop, and check your dilution ratio first. If it persists, discontinue and consult a professional. More importantly: if your hair loss is sudden, patchy, or accompanied by scalp tenderness, scaling, or any systemic symptoms, rosemary oil is not the right starting point. Hair loss has multiple causes, and some of them — including hormonal shifts, nutritional deficiencies, and autoimmune conditions — require diagnosis, not a better oil application technique.
This week, change one thing about how you’re applying it: set a four-minute timer and actually massage the oil into your scalp in sections rather than just smoothing it over the surface. If you’re currently getting results, you’ll know the massage is part of why. If you haven’t started yet, begin with the massage technique before worrying about which brand to buy.
If you’d rather have a professional scalp treatment to complement your at-home routine — or you want a proper scalp analysis before committing to any protocol — Glamingo has verified scalp treatment and hair loss consultation options near you, with real reviews from women who’ve been there. Find a scalp treatment provider near you →

Drop in your comments..